
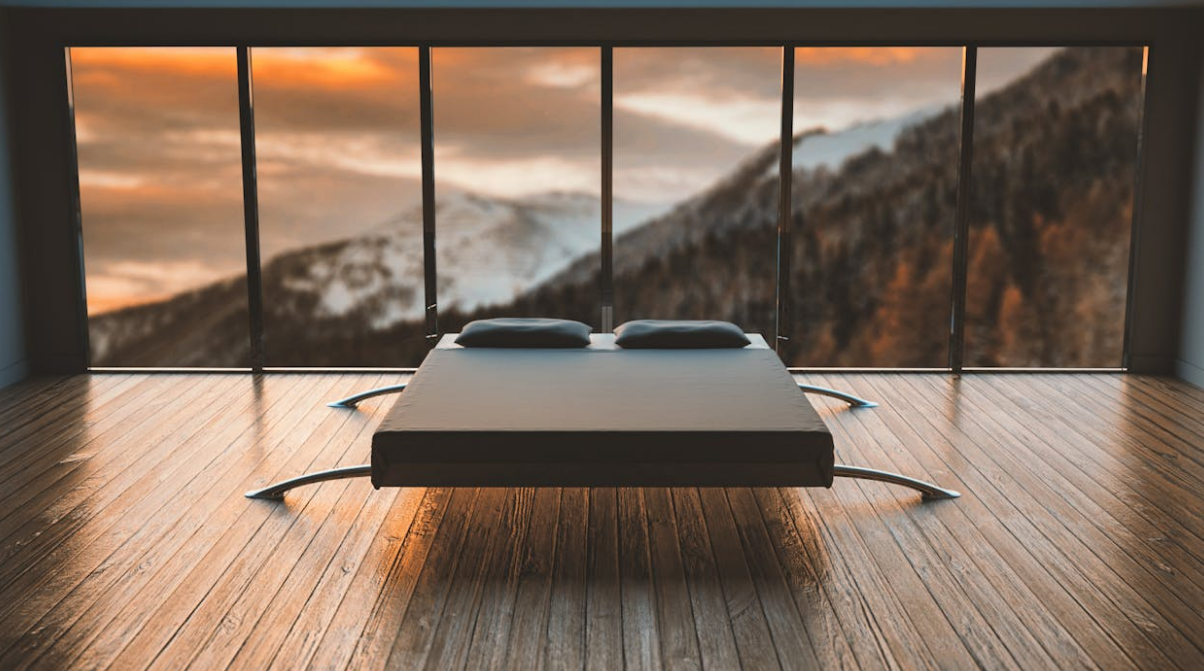
Natural light is not only aesthetically pleasing but also plays a significant role in enhancing the ambiance, energy efficiency, and overall well-being of your home. By maximizing natural light through strategic placement of windows and skylights, you can create bright, inviting spaces that feel spacious, comfortable, and connected to the outdoors. In this guide, we’ll explore techniques for optimizing natural light in your home using windows and skylights, along with tips for enhancing interior design and energy efficiency. Subtitles: Harnessing the Benefits of Natural Light Strategies for Maximizing Natural Light with Windows and Skylights Harnessing the Benefits of Natural Light 1. Health and Well-Being Natural light exposure has numerous health benefits, including: Vitamin D Synthesis: Sunlight exposure helps the body produce vitamin D, essential for bone health and immune function. Mood Enhancement: Natural light can improve mood, reduce stress, and enhance overall well-being. Circadian Rhythm Regulation: Exposure to natural light helps regulate sleep-wake cycles and promotes better sleep quality. 2. Energy Efficiency Maximizing natural light reduces the need for artificial lighting during the day, leading to: Energy Savings: Reduced reliance on artificial lighting lowers energy consumption and utility costs. Environmental Impact: Lower energy usage contributes to environmental sustainability and reduces carbon footprint. 3. Aesthetic Appeal Natural light creates a bright, airy, and inviting atmosphere, enhancing: Interior Design: Light-filled spaces appear larger, more open, and showcase architectural features and décor elements. Visual Comfort: Well-lit rooms reduce eyestrain, improve visibility, and highlight natural textures and colors. Strategies for Maximizing Natural Light with Windows and Skylights 1. Window Placement and Size Optimize natural light by strategically placing windows and maximizing their size and functionality: Southern Exposure: Maximize south-facing windows for abundant sunlight throughout the day, especially during winter months. East and West Windows: Utilize east-facing windows for morning light and west-facing windows for afternoon sunlight. Consider window treatments to control glare and heat gain. North-Facing Windows: Use north-facing windows for softer, diffused light that reduces glare and provides consistent illumination. 2. Window Styles and Features Choose window styles and features that enhance natural light penetration and control: Large Picture Windows: Install large picture windows to capture panoramic views, maximize daylight, and create focal points in living areas. Operable Windows: Use operable windows such as casement, awning, or tilt-turn windows for ventilation, natural airflow, and daylighting control. Transom Windows: Incorporate transom windows above doors or other windows to bring in additional light without compromising privacy. 3. Skylights and Light Tubes Integrate skylights and light tubes to introduce natural light into interior spaces with limited access to windows: Skylight Placement: Install skylights in areas like kitchens, bathrooms, hallways, and stairwells to brighten dark spaces and reduce reliance on artificial lighting. Tubular Daylighting Devices: Use light tubes or sun tunnels to channel sunlight into interior rooms, closets, or corridors where traditional windows or skylights are impractical. 4. Light-Reflective Surfaces Enhance natural light distribution and brightness with light-reflective surfaces and finishes: Light-Colored Walls: Choose light-colored paint or wallpaper for walls to reflect and diffuse natural light, creating a brighter and more spacious feel. Mirrors and Glass: Position mirrors strategically to reflect light and create optical illusions of larger spaces. Use glass doors, partitions, and furniture to allow light to pass through and enhance visual connectivity. 5. Window Treatments and Controls Select window treatments and controls that balance natural light, privacy, and energy efficiency: Sheer Curtains and Blinds: Use sheer curtains, blinds, or shades to diffuse sunlight, reduce glare, and maintain privacy while still allowing natural light to filter through. Smart Controls: Consider motorized or smart window treatments that adjust automatically based on sunlight intensity, time of day, and user preferences for optimal light management and energy savings. By implementing these strategies for maximizing natural light with windows and skylights, you can create a brighter, more comfortable, and energy-efficient home environment that enhances well-being, visual appeal, and connectivity to the outdoors. Consult with design professionals, architects, and window specialists to customize solutions tailored to your home’s orientation, architecture, and lighting goals, ensuring optimal natural light utilization and interior comfort throughout the year.
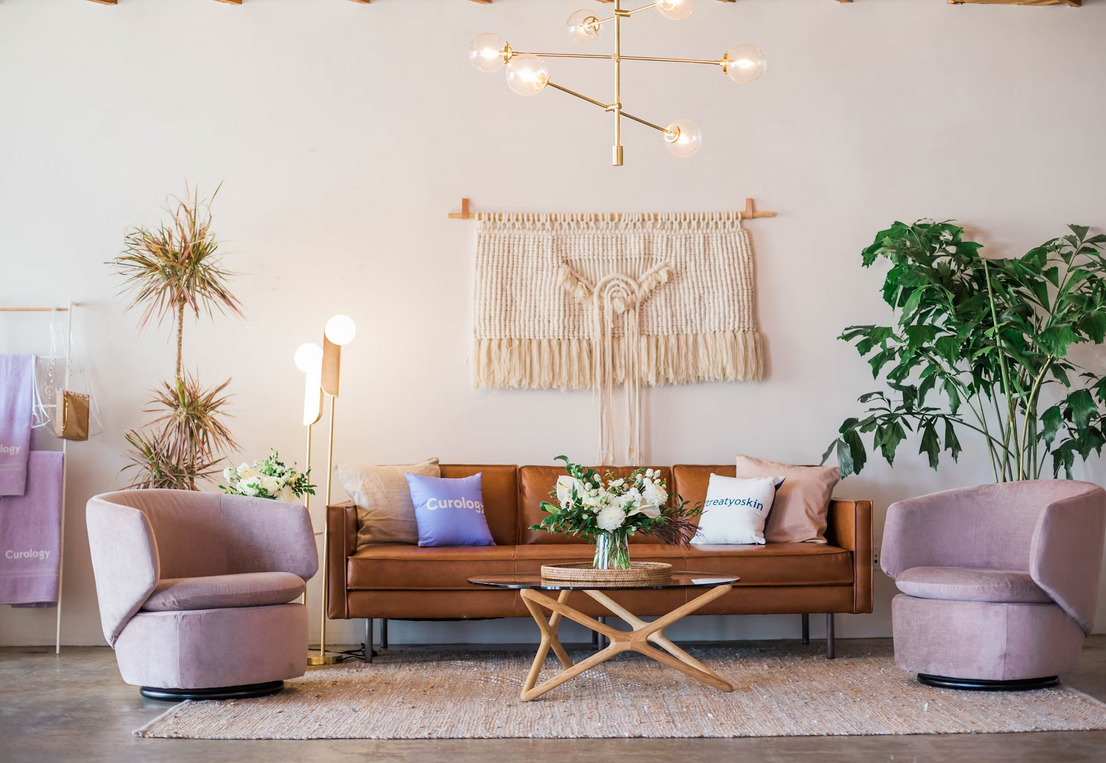
Painting Techniques for a Professional Finish
Achieving a professional finish in painting requires not just quality paint and tools but also proper techniques and attention to detail. Whether you’re painting walls, furniture, or artwork, mastering painting techniques can elevate the final result, giving it a polished and professional look. In this guide, we’ll explore essential painting techniques that contribute to a professional finish and enhance the overall aesthetic appeal of your painting projects. Subtitles: Preparation and Priming Application Techniques for Smooth and Even Coats Preparation and Priming 1. Surface Preparation Preparing the painting surface is crucial for a professional finish. Clean the surface thoroughly to remove dirt, grease, and dust that can affect paint adhesion. Repair any cracks, holes, or imperfections using spackling compound or filler, and sand the surface smooth for even paint application. Tips: Cleaning: Use a mild detergent or cleaner to wash walls, furniture, or surfaces before painting. Rinse thoroughly and allow the surface to dry completely. Repairing: Fill cracks, nail holes, and blemishes with spackling paste or filler. Sand the patched areas once dry to create a smooth surface for painting. Sanding: Use fine-grit sandpaper (such as 120-grit) to sand surfaces lightly, removing rough spots and ensuring paint adhesion. Wipe away dust with a tack cloth or damp cloth. 2. Priming Priming the surface before painting is essential for optimal paint adhesion, coverage, and durability. Choose a primer suitable for the surface type (e.g., latex primer for walls, wood primer for furniture) and apply it evenly using a brush, roller, or sprayer. Tips: Primer Selection: Select a primer based on the surface material (e.g., wood, drywall, metal) and the type of paint you’ll be using (e.g., latex, oil-based). Use tinted primers for better color coverage and adhesion. Primer Application: Apply primer evenly in smooth, overlapping strokes using a brush or roller. Use a sprayer for large surfaces for faster and more consistent coverage. Allow the primer to dry completely before painting. Application Techniques for Smooth and Even Coats 1. Brush Techniques Using the right brush and applying paint with proper brush techniques contribute to a smooth and even finish. Choose high-quality brushes suitable for the paint type (e.g., synthetic brushes for latex paint, natural bristle brushes for oil-based paint) and practice brush control for precise application. Tips: Brush Selection: Use angled brushes for cutting in edges and corners, flat brushes for large areas, and detail brushes for intricate work. Clean brushes thoroughly before use to remove any loose bristles or debris. Loading the Brush: Dip the brush into the paint, then tap off excess paint to avoid drips or blobs. Load the brush evenly for consistent coverage and avoid overloading, which can lead to streaks or drips. Brush Strokes: Use smooth, even strokes with the brush, following the natural direction of the surface (e.g., vertical strokes for walls, horizontal strokes for furniture). Feather edges and blend strokes for seamless transitions. 2. Roller Techniques Painting with a roller allows for faster coverage and a more uniform finish on large surfaces. Choose the appropriate roller nap (thickness) based on the surface texture (e.g., smooth, semi-smooth, textured) and use proper roller techniques for optimal results. Tips: Roller Selection: Use short nap rollers (3/8 to 1/2 inch) for smooth surfaces and longer nap rollers (3/4 to 1 1/4 inch) for textured surfaces. Use foam rollers for ultra-smooth finishes on trim or cabinets. Roller Loading: Dip the roller into the paint tray, then roll it back and forth to evenly distribute paint on the roller cover. Avoid overloading the roller, which can cause drips or uneven application. Roller Application: Roll paint onto the surface using a W or M pattern to distribute paint evenly. Use light pressure and avoid pressing too hard, which can create roller marks or streaks. Feather edges and blend sections for a seamless finish. 3. Spraying Techniques Spray painting is ideal for large areas, furniture, and detailed work where a smooth, fine finish is desired. Proper spraying techniques, including gun control, distance, and overlapping passes, contribute to a professional finish. Tips: Spray Gun Setup: Adjust spray gun settings (e.g., air pressure, nozzle size, spray pattern) according to the paint type and desired finish. Test spray on a scrap surface to check coverage and adjust settings as needed. Spray Distance: Maintain a consistent distance (usually 6 to 12 inches) between the spray gun and the surface for even coverage. Move the gun smoothly and steadily, overlapping each pass slightly to avoid gaps or unevenness. Spray Technique: Start spraying before reaching the surface and continue spraying past the edge to prevent abrupt starts and stops. Keep the gun perpendicular to the surface for uniform coverage, and adjust speed for optimal paint flow. 4. Drying and Finishing Allow sufficient drying time between coats to ensure proper adhesion and avoid smudging or blending of layers. Follow manufacturer’s recommendations for drying times and apply additional coats as needed for full coverage and durability. Use fine-grit sandpaper between coats for smoothness, and apply a topcoat or sealer for protection and a professional finish. Tips: Drying Time: Allow paint to dry completely between coats (usually 2 to 4 hours) before sanding or applying additional coats. Use fans or ventilation to speed up drying in well-ventilated areas. Sanding Between Coats: Lightly sand surfaces between coats with fine-grit sandpaper (e.g., 220-grit) to smooth out imperfections, bumps, or brush marks. Wipe away dust with a tack cloth or damp cloth before applying the next coat. Topcoat or Sealer: Apply a clear topcoat or sealer after the final coat of paint has dried completely. Choose a finish (e.g., matte, satin, gloss) that complements the paint type and desired aesthetic. Follow manufacturer’s instructions for application and curing. By mastering these painting techniques and following best practices for preparation, priming, and application, you can achieve a professional finish that enhances the beauty, durability, and longevity of your painting projects. Practice patience, attention to detail, and consistent techniques for optimal results, and enjoy the satisfaction of a beautifully painted surface that showcases your skills and creativity.
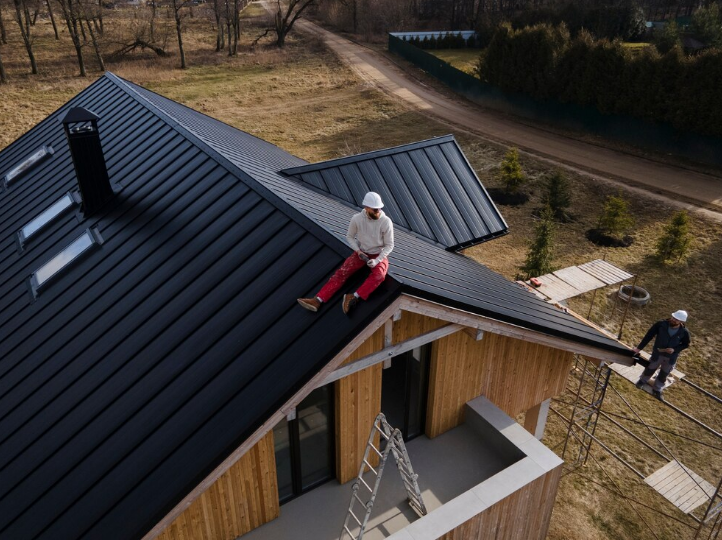
Outdoor Entertaining: Deck and Patio Ideas
Transforming your outdoor space into a welcoming and functional area for entertaining can elevate your gatherings and create memorable experiences. Whether you have a deck, patio, or backyard space, thoughtful design and decor choices can enhance the ambiance and functionality of your outdoor entertaining area. In this guide, we’ll explore ideas for deck and patio design that promote outdoor enjoyment and social gatherings. Subtitles: Designing Your Outdoor Entertaining Space Enhancing Functionality and Style Designing Your Outdoor Entertaining Space 1. Define Zones Create distinct zones within your outdoor space to accommodate different activities and social interactions. Designate areas for dining, lounging, cooking, and recreation to optimize functionality and flow. Tips: Dining Area: Set up a dining table and chairs or a picnic-style seating arrangement for outdoor meals and gatherings. Choose durable and weather-resistant furniture suitable for outdoor use. Lounging Area: Create a comfortable lounging area with outdoor sofas, lounge chairs, or hammocks for relaxation and casual conversations. Use cushions, throw pillows, and outdoor rugs to add comfort and coziness. Cooking Zone: Install an outdoor kitchen, grill station, or barbecue area for cooking and food preparation. Include countertop space, storage cabinets, and a sink for convenience. Recreation Space: Incorporate recreational elements such as a fire pit, outdoor games, or a play area for children. Create a focal point that encourages social interaction and entertainment. 2. Consider Shade and Shelter Provide adequate shade and shelter options to enhance comfort and usability during varying weather conditions. Incorporate umbrellas, pergolas, awnings, or shade sails to protect against sun exposure or light rain. Tips: Umbrellas: Use patio umbrellas with adjustable angles to provide shade over dining and seating areas. Choose umbrellas with UV-resistant fabric for sun protection. Pergolas: Install a pergola over a designated area to create partial shade and define an outdoor room. Enhance the pergola with climbing plants, string lights, or fabric curtains for added ambiance. Retractable Awnings: Consider retractable awnings that can extend or retract based on weather conditions. These awnings offer flexible shade coverage and can be adjusted as needed. Shade Sails: Install shade sails in various shapes and sizes to create dynamic shade patterns and architectural interest. Choose breathable fabric materials that block UV rays while allowing airflow. Enhancing Functionality and Style 1. Lighting Design Illuminate your outdoor entertaining space with strategic lighting design that enhances safety, ambiance, and visibility during evening gatherings. Incorporate a mix of task lighting, ambient lighting, and decorative lighting for a well-lit and inviting atmosphere. Tips: Task Lighting: Install task lighting near cooking areas, dining tables, and pathways for functional illumination. Use wall-mounted lights, pendant lights, or under-counter lighting for task-oriented tasks. Ambient Lighting: Create ambient lighting with string lights, lanterns, or sconces that provide overall illumination without harsh glare. Soften light intensity with dimmer switches or adjustable fixtures. Decorative Lighting: Add decorative lighting elements such as fairy lights, globe lights, or illuminated sculptures for visual interest and ambiance. Highlight architectural features, plants, or water features with accent lighting. 2. Greenery and Landscaping Integrate greenery, landscaping, and natural elements into your outdoor entertaining space to enhance beauty, privacy, and connection with nature. Incorporate plants, trees, flower beds, and hardscape features that complement your design theme. Tips: Container Gardens: Create container gardens with potted plants, herbs, flowers, or succulents to add color and texture to your outdoor space. Use planters of varying sizes and heights for visual impact. Vertical Gardens: Install vertical garden structures or living walls with climbing plants or vines to maximize vertical space and create a lush backdrop. Vertical gardens add privacy and aesthetic appeal. Landscaping Features: Include landscaping features such as stone pathways, garden borders, water features, or seating walls that enhance the overall design and functionality of your outdoor area. 3. Comfortable Furnishings Choose comfortable and durable outdoor furnishings that withstand weather exposure and promote relaxation for your guests. Select materials, fabrics, and designs that complement your outdoor theme and lifestyle. Tips: Weather-Resistant Furniture: Opt for weather-resistant materials such as teak, wicker, aluminum, or resin for outdoor furniture pieces. Choose cushions and upholstery fabrics with UV protection and moisture resistance. Outdoor Dining Sets: Select outdoor dining sets with comfortable chairs, durable tables, and optional features like umbrellas or fire pit inserts. Ensure sufficient seating capacity for guests during meals and gatherings. Cozy Accessories: Enhance comfort with outdoor accessories such as throw blankets, outdoor pillows, poufs, and floor cushions. Create cozy nooks and seating arrangements that invite relaxation and conversation. By implementing these design ideas for your deck and patio, you can create a welcoming and functional outdoor entertaining space that enhances social interactions, relaxation, and enjoyment of outdoor living. Customize your outdoor area with personalized touches, seasonal decor, and entertainment amenities to create memorable experiences for family and guests. Whether hosting barbecues, al fresco dinners, or casual gatherings, your outdoor space can become a favorite destination for outdoor entertainment and relaxation.

Home Office Design: Productivity and Comfort
Designing a home office that balances productivity and comfort is essential for creating a conducive work environment. From ergonomic furniture to effective organization solutions, every aspect of home office design plays a role in enhancing efficiency and well-being. In this guide, we’ll explore strategies for designing a home office that prioritizes productivity and comfort, helping you optimize your work-from-home experience. Subtitles: Understanding Home Office Design Principles Strategies for Productive and Comfortable Home Office Design Understanding Home Office Design Principles 1. Ergonomic Workspace Creating an ergonomic workspace is crucial for maintaining comfort and reducing the risk of strain or injuries during long hours of work. Consider ergonomic furniture, proper lighting, and posture support to optimize your work environment. Tips: Ergonomic Chair: Invest in an ergonomic chair with adjustable height, lumbar support, and armrests. Choose a chair that promotes good posture and allows for comfortable seating for extended periods. Height-Adjustable Desk: Use a height-adjustable desk or add a standing desk converter to vary your working position throughout the day. Alternating between sitting and standing reduces sedentary behavior and improves circulation. Monitor Placement: Position your computer monitor at eye level and arm’s length away to reduce neck strain and eye fatigue. Use monitor risers or adjustable monitor arms for optimal viewing angles. Keyboard and Mouse: Use an ergonomic keyboard and mouse that promote natural wrist alignment and minimize repetitive strain injuries. Consider wrist rests and keyboard trays for added comfort. 2. Functional Layout Design your home office layout to maximize efficiency and workflow. Organize furniture, equipment, and storage solutions strategically to create a streamlined and functional workspace. Tips: Workstation Setup: Arrange your workstation with essential equipment within easy reach, including computer peripherals, phone, notepads, and office supplies. Minimize clutter on the desktop to maintain a clear workspace. Task Zones: Create distinct zones for different tasks, such as a computer workstation for digital work, a writing area for note-taking, and a reference area for books or documents. Designate specific areas for focused work and collaboration if needed. Storage Solutions: Incorporate efficient storage solutions such as filing cabinets, shelves, or storage bins to keep supplies, files, and equipment organized. Use vertical space for storage to free up floor area. 3. Adequate Lighting Proper lighting is essential for productivity, focus, and eye comfort in your home office. Balance natural light with artificial lighting sources to reduce glare, shadows, and visual strain. Tips: Natural Light: Position your desk or workstation near windows to maximize natural light exposure. Use window treatments like blinds or curtains to control glare and sunlight intensity. Task Lighting: Supplement natural light with task lighting such as desk lamps, floor lamps, or overhead lights with adjustable brightness. Direct task lighting onto work surfaces to enhance visibility and reduce eye strain. Ambient Lighting: Use ambient lighting fixtures such as ceiling lights or wall sconces to provide overall illumination and prevent harsh shadows. Choose bulbs with a color temperature that mimics natural daylight for a comfortable work environment. Strategies for Productive and Comfortable Home Office Design 1. Personalized Workspace Personalize your home office space to reflect your style, preferences, and work habits. Incorporate decor elements, color schemes, and motivational items that inspire creativity and productivity. Tips: Decor and Color: Choose decor elements, artwork, and color schemes that resonate with your personality and work style. Use colors that promote focus and motivation, such as blues for calmness or greens for productivity. Motivational Items: Display motivational quotes, vision boards, or personal achievements in your workspace to stay inspired and focused. Surround yourself with positive reminders of your goals and aspirations. Plants and Greenery: Incorporate indoor plants or greenery to add a touch of nature and improve air quality in your home office. Plants can enhance mood, reduce stress, and increase productivity. 2. Tech Integration Integrate technology seamlessly into your home office design to enhance productivity and connectivity. Use ergonomic tech setups, organize cables, and optimize digital tools for efficient work processes. Tips: Ergonomic Tech Setup: Arrange computer monitors, keyboards, and mouse devices ergonomically to reduce strain and discomfort. Use cable management solutions to keep wires organized and tangle-free. Digital Organization: Implement digital organization systems for files, documents, and digital assets. Use cloud storage, productivity apps, and digital calendars to streamline workflows and collaboration. Communication Tools: Set up communication tools such as video conferencing software, instant messaging platforms, and virtual collaboration tools for seamless remote work interactions. Ensure reliable internet connectivity and equipment for virtual meetings. 3. Comfort Enhancements Enhance comfort in your home office with thoughtful additions that promote well-being and relaxation. Consider ergonomic accessories, comfort-enhancing amenities, and break areas for rejuvenation. Tips: Ergonomic Accessories: Use ergonomic accessories such as footrests, anti-fatigue mats, or wrist supports to enhance comfort during work hours. Invest in noise-canceling headphones for focus and privacy. Comfortable Seating: Provide comfortable seating options for breaks and relaxation, such as lounge chairs, bean bags, or cozy seating nooks. Incorporate soft furnishings and cushions for added comfort. Break Areas: Designate a separate area for breaks and relaxation within your home office or nearby space. Create a cozy corner with a comfortable chair, reading materials, and refreshments for rejuvenation. By applying these strategies for productive and comfortable home office design, you can create a workspace that supports your work goals, enhances well-being, and promotes efficiency. Whether you’re working remotely, pursuing creative projects, or managing daily tasks, a well-designed home office contributes to a positive and fulfilling work experience. Customize your home office to suit your unique needs, preferences, and workstyle for optimal productivity and comfort.